
4
Charging: 5V 1A
Power: 2W
TECHNICAL DATA:
4. Place the new or cleaned blades back into their place and close the head.
3. Replace the head by pushing the metal plate into the device.
2. Remove the head bu pulling on the whole head and blades as shown on picture 10 on page 2.
1. Open the blade compartment by following pictures 8 on page 2.
REPLACING AND CLEANING THE BLADE.
WARNING: Only the device head can be cleaned with water. DO NOT IMMERSE THE DEVICE IN WATER.
6. After a dozen uses please add some machine oil to the blades. 1 drop per blade should be enough.
5. After cleaning, close the protective blade cutter.
4. The head can also be cleaned with water after each use as shown in picture 1 on page 2.
2. Using the cleaning brush provided, gently clean the foil and the cutter
1. First remove the protective blade cover as shown in picture 8 on page 2.
HOW TO CLEAN
4. Press the ON/ Off button to turn the device off.
3. To achieve a closer shave, pull the skin taut with one hand while shaving with the other.
2. Begin shaving in the opposite direction of hair growth.
1. Press the ON/ Off button to turn the device on.
HOW TO USE
2. The charging indicator light will blink 3 times blue signaling the lock is active.
1. Press the ON / OFF button for 3 seconds.
TO lock and unlock:
TRAVEL LOCK:
DO NOT CHARGE FOR MORE THAN 20 CONSECUTIVE HOURS
4. Shaver can be used for approximately 7 days on a single charge.
3. Once charged, the light will stop blinking. Unplug the device.
2. The red indicator light (3) will light to indicate the unit is charging.
1. Plug in the device to an energy source via the USB C cable.
Before first use:
HOW TO CHARGE
5. USB C charging port.
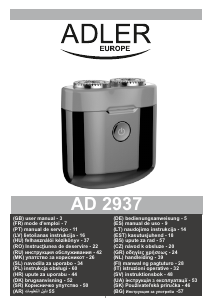
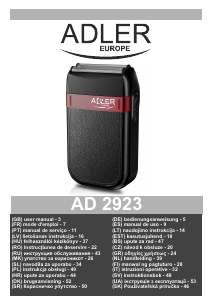
1. Blade head 2. Opening latch 3. On/Off Button 4. (Underside) Charging / Lock indicator light
DESCRIPTION OF THE DEVICE (PIC. 1)
25. After charging the shaver , pull the charger from the power.
24. Before cleaning the shaver, always ensure that it is unplugged from the power source.
23. Charge the device in temperatures between 5°C and 35°C.
22. If the device needs to be equipped with a power adapter, do not cover it. Otherwise, it
can lead to a dangerous rise in temperature and damage to the device. First insert the plug
into the socket and then the adapter.
21. For additional protection, it is recommended to install the residual current device (RCD)
whose rated residual current does not exceed 30 mA. In this area, contact a specialist
electrician.
20. Do not leave the device or adapter unattended when connected to the power supply.
19. Switch off the device after each use.
18.Never touch the device or the adapter with wet hands
17. Do not let the device or the power adapter get wet. Should the device fall into water, pull
the plug or power adapter out of the socket immediately. Do not immerse hands in water
when the device is connected to the mains power. In such a case, have the device checked
by a qualified electrician before using it again.
DEUTSCH
To protect your environment: please separate carton boxes and plastic bags and dispose them in corresponding
waste bins. Used appliance should be delivered to the dedicated collecting points due to hazarsous
components, which may effect the environment. Do not dispose this appliance in the common waste bin.
⎓


Приклучете се во разговорот за овој производ
Тука можете да го споделите вашето мислење за Adler AD 2937 Апарат за бричење. Ако имате прашања, најпрво прочитајте го прирачникот. Можете да побарате прирачник ако го употребите нашиот прирачник за контакт.
одговор | Ова беше корисно (2) (Преведено од Google)
одговор | Ова беше корисно (1) (Преведено од Google)